Watch the video!
I’m going to share with you the steps on how to make a simple overhead camera setup on a budget! If you are drawing, knitting or doing any type of work with your hands that you want to film, this is how to do it.
Step 1: Set-up your workspace
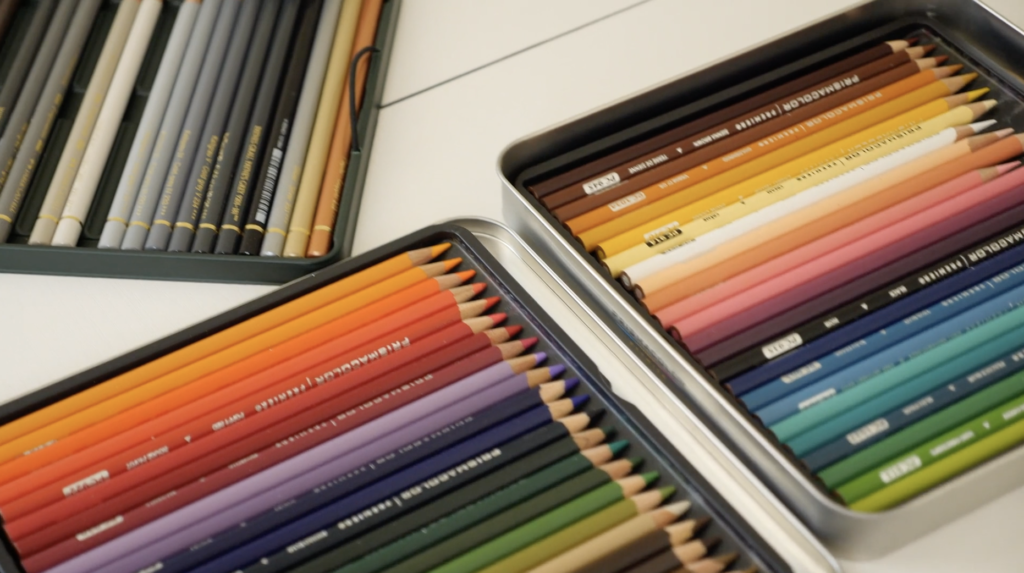
Make sure that you have everything ready to go that’ll be filmed with your overhead camera setup. And, of course, make sure that whatever is being filmed is in a nice clean space that’s decluttered.
Step 2 : lighting
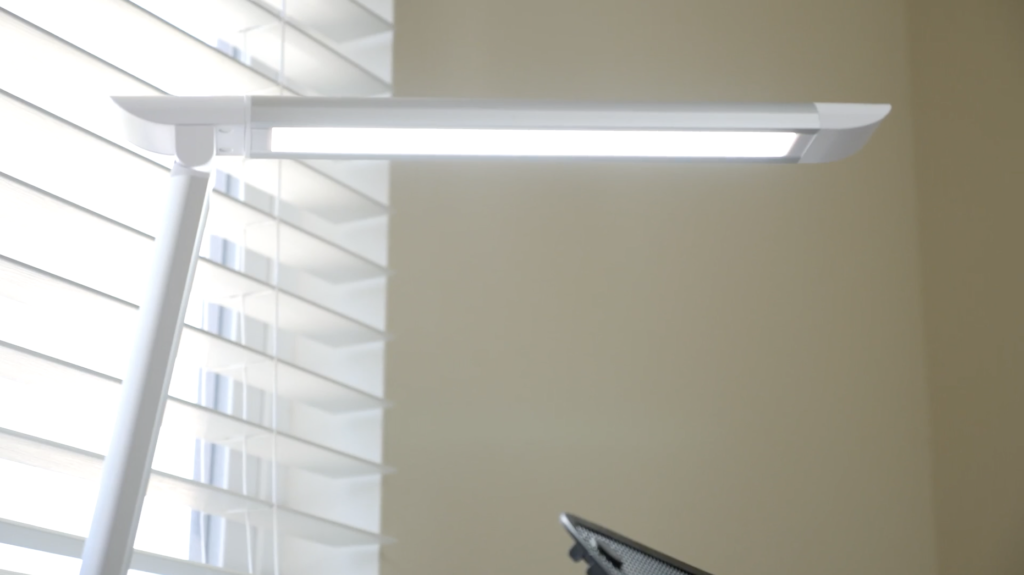
I love the light that Lia is using. It’s an LED Desk lamp that’s dimmable and produces nice soft lighting. Plus, it’s budget-friendly at about $35 US dollars at the time of this recording. So go ahead and place your light in a position so that it lights your hands and, in this case, art work, nicely.
Step 3 : Mount your phone camera
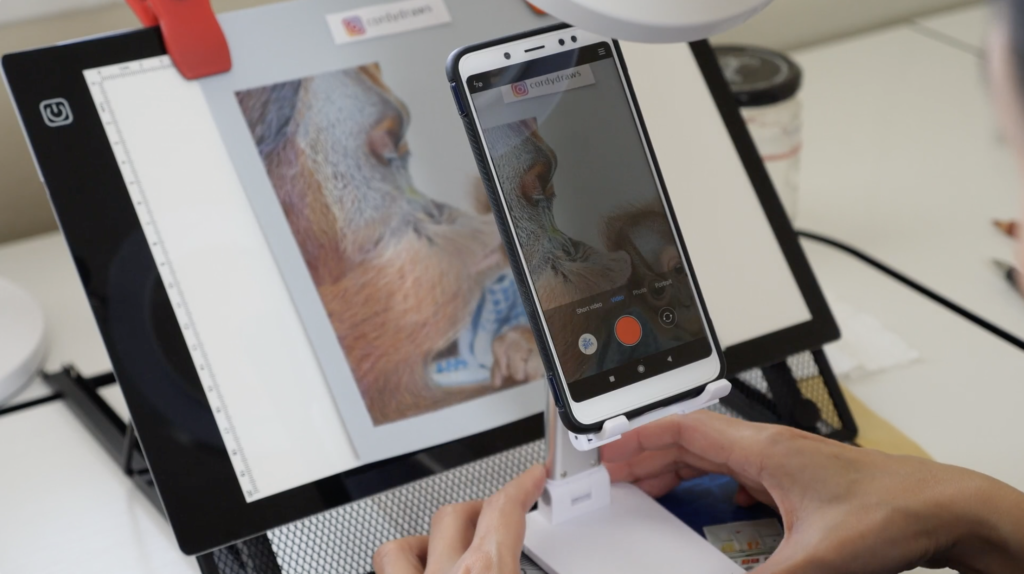
I’m going to show two different ways to do this. The first way is by using a phone stand like above. It’s foldable so you can adjust the angle. Plus, it only costs $11 US dollars currently. Go ahead and adjust the phone stand so that it’s at the right angle of where you can want to record. And, because your phone is on your desk in front of you, you’ll be able to easily see what you’re actually filming. Plus, it looks like it’s from an overhead camera setup.
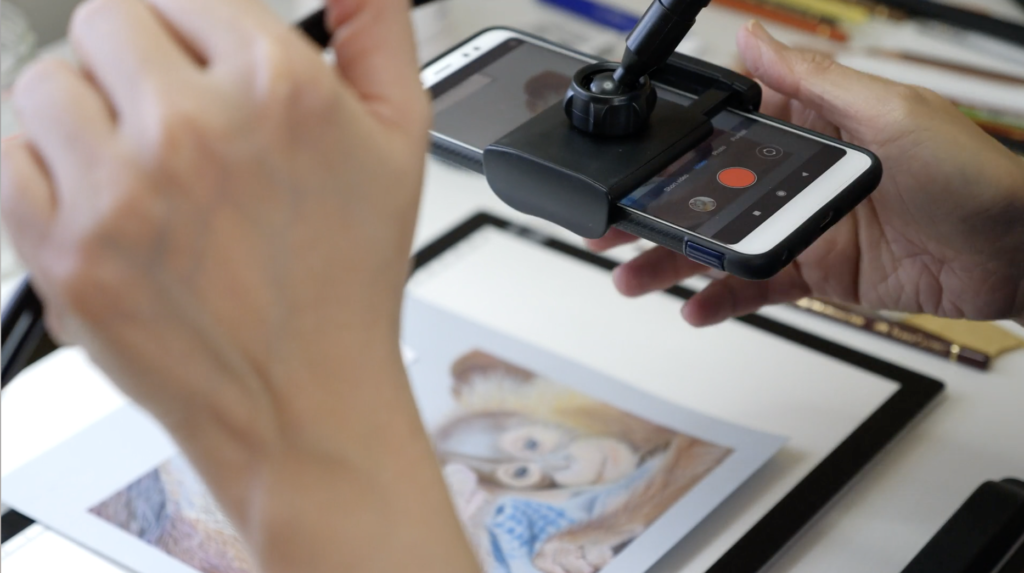
Next you can use an $11 budget-friendly goose neck to mount your phone on for your overhead camera setup. (See photo above.) Simply attach it to your desk, place your phone in the mount, and adjust the gooseneck mount so that it’s angled above your hands and artwork that you want to film.
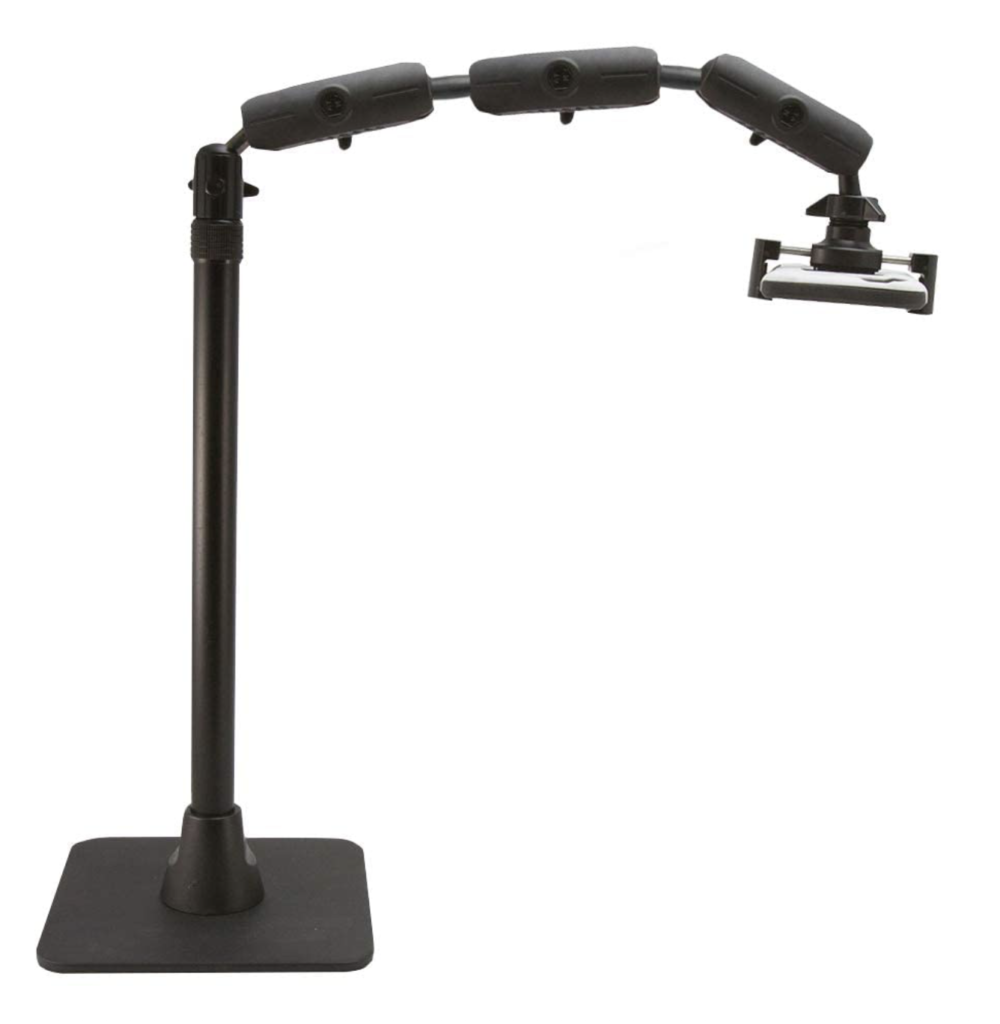
For a higher quality phone mount, you can get the Arkon Phone Mount (pictured below).
This costs about $100, so it's a lot more expensive compared to a goose neck holder, but it's very sturdy and stable.
Step 4: Use the app called Reflector
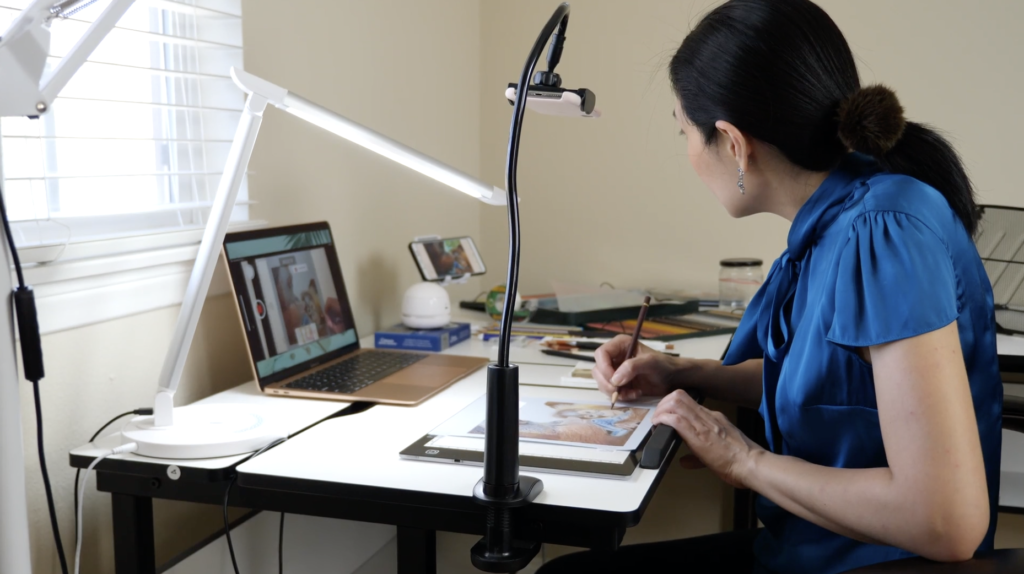
Because using a goose neck to mount your phone above your head means you can't see what you're actually recording, you can use the app called Reflector. (Make sure to watch the video so you can see how to use it!) Basically, it lets you use your laptop or iPad as a monitor with your phone as your camera. Super cool!
Step 5: Push Record
Now that everything is set up you’re ready to film your video. Have fun!
Make sure to get your hands on my FREE guide and training video where I show you how to film yourself professionally on a phone. Discover how to naturally look better on video than in real life. No joke! And, boost your know, like, and trust factor with this guide. Trust me, you’re gonna love seeing yourself on video!
Check out Lia's beautiful artwork! Here's a link to Lia's Store. And you can follow her on Instagram!
