Here are four simple tips on how to get awesome lighting for YouTube videos. So that way, you can look hands-down amazing!
Here's the thing: It doesn't matter how great of a camera you have, the visual quality is all about the lighting. And this is where you can really make or break a video.
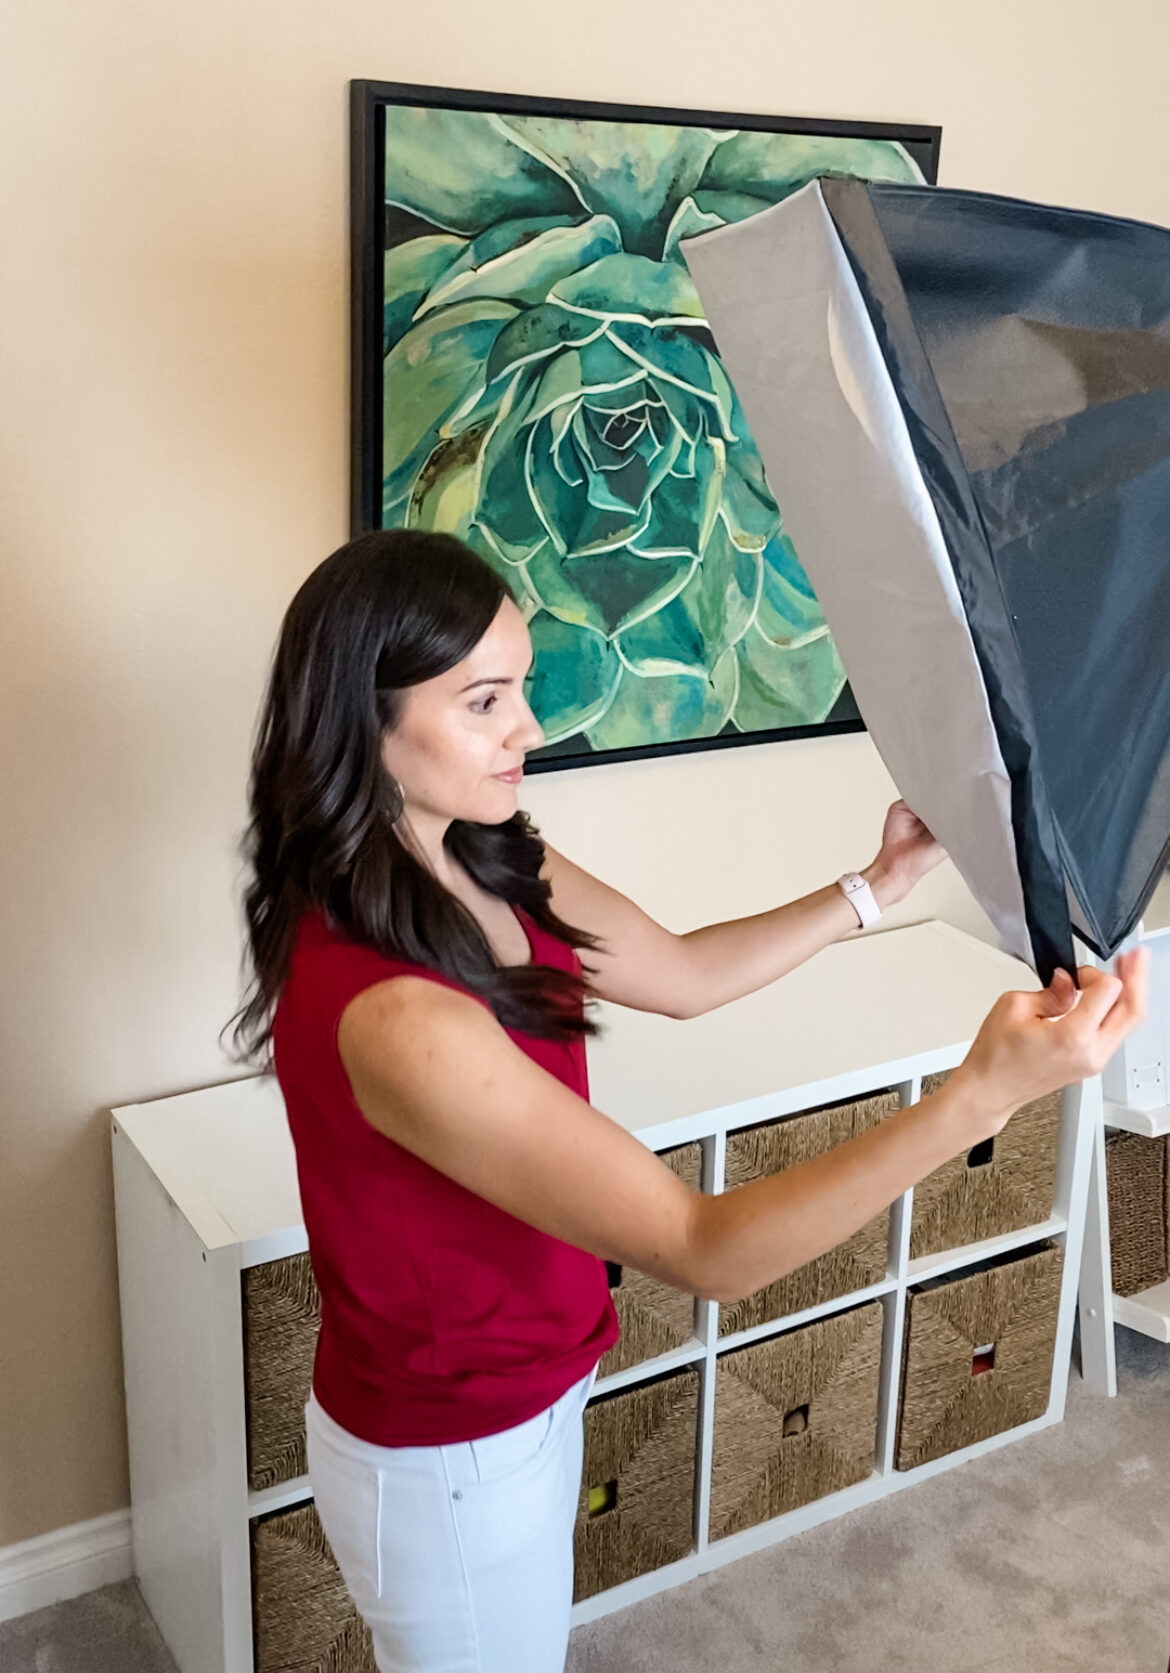
And, literally, it only took me 10 minutes—actually seven minutes to be exact—to set up these lights. (You can find this soft box kit in my budget-friendly Video Buyers Guide.)
So let's dive into my four simple tips on how to get great lighting for YouTube videos (so you can look amazing!)

1. Use soft light
Soft lighting is the most flattering type of light. It smooths skin, gives soft shadows, and my favorite, hides bags from under your eyes. For this part-time working mama, who often moonlights till midnight, this is a must.
So there are two different ways to get soft lighting: you can either diffuse the light, or bounce the light.
To diffuse the light, you put something in front of your light source. In this case, we're putting diffusion material in front of the light that came in the light kit. You can also use something like a white shower curtain, a sheet, or hold a reflector in front of your light.
You can also bounce the light off of something white, like a white wall, ceiling, or white foam board.
The key principle in diffusing or bouncing light is that it's taking a small light source and making it big. Because the bigger the light source, the softer it's going to be. Make sure you watch my video on three point lighting, right here, so you can learn exactly where to place your lights.
2. Have catch light in your eyes
Catch light is when your light reflects in your eyes. The shiny white reflection draws attention to your eyes (which is where you want your viewer to look.) The bigger the light, the bigger the catch light you'll have in the eyes. Catch light really makes a person stand out, and makes them look alive. Something you definitely want when lighting for YouTube videos!
Watch the video to see the demonstrations:
3. Use back light
Back light (or “hair light”) is NOT lighting your background. It’s lighting YOU from behind. Using back light makes you pop out from the background in your video. And the viewer watching can connect with you more easily. Back light is also called hair light, because you're basically adding a rim or halo effect around the person's head.
Although back light isn’t a necessity, it’s one of my favorite lighting techniques because it just looks so good! It’s like the cherry on top of your ice cream sundae!
4. Use the right color temperature
There are basically two different color temperatures: you have daylight which is a whiter, cooler temperature like the outdoors (which is why it's called daylight) and you have tungsten which is like a traditional lamp, with that orange hue color to it.
The most important factor to remember is that you want to light the subject, or the person in the video, with the same color temperature.
For example, in my office I have a large window that lets in some daylight. So that's why we're using lights that have a daylight color temperature. And above me, on my ceiling, I have a tungsten light. So I make sure and turn off that tungsten light so that I don't mix the two color temperatures.
If you want, you can add some contrast to your video by lighting the background a different color temperature. For example, in my audio video, I have a tungsten light popping up on the wall, but I'm lit with daylight.
There you go! Four simple tips on awesome lighting for YouTube videos so you look hands-down amazing!
Comment below and let me which tip you're going to use in your next video!
