Want to look amazing in your Instagram Reels? Of course you do! So...here's an easy Instagram Reels video setup that'll honestly make you look better in your reels than in real life!
WATCH THE VIDEO BELOW TO SEE MY INSTAGRAM REELS DEMONSTRATIONS
There are lots of different types of Reels that you can make. For example, behind the scenes Reels where you're not looking at the camera. Or, "talking head" Reels where you're talking and looking at the camera. This blog demonstrates the "talking head" video so that you look and sound great!
So let's dive in to this easy Instagram Reels video setup that'll make you look better on video than in real life. And, by the way... it's all natural. I'm not talking about filters or anything like that!
Step 1 : Background for Instagram Reels
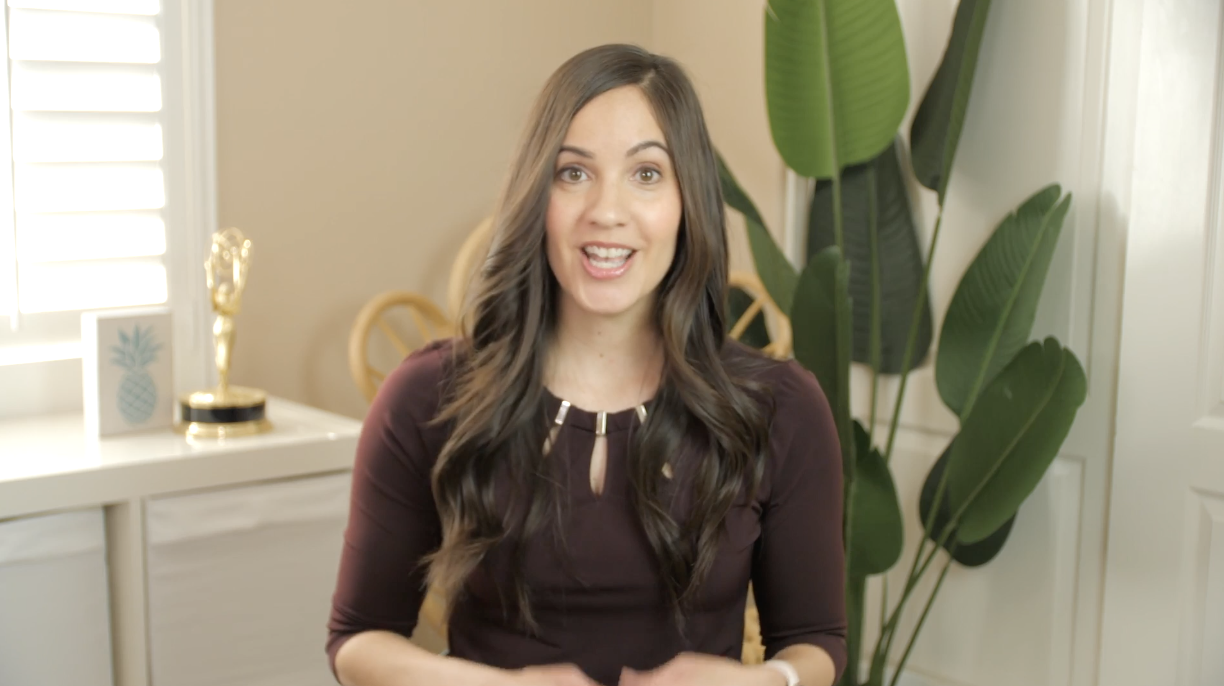
The first step is to have a nice background. And just for the record, I do not have an instagrammable house. No...I have two young kids. How can anyone with two young kids have an instagrammable, perfect looking house?
All you need, even if you have a messy house, is one corner or one space behind you like a wall, that's gonna be in the video. Declutter it, make it look nice and clean and you're good to go!
I film most of my videos in my home office and I pretty much have two spaces. I have a corner that I stand in front of and on the other side I have a wall and shelf that I use as my background. So when you have a dedicated space it makes it easier to push that record button.
Step 2: Stabilization
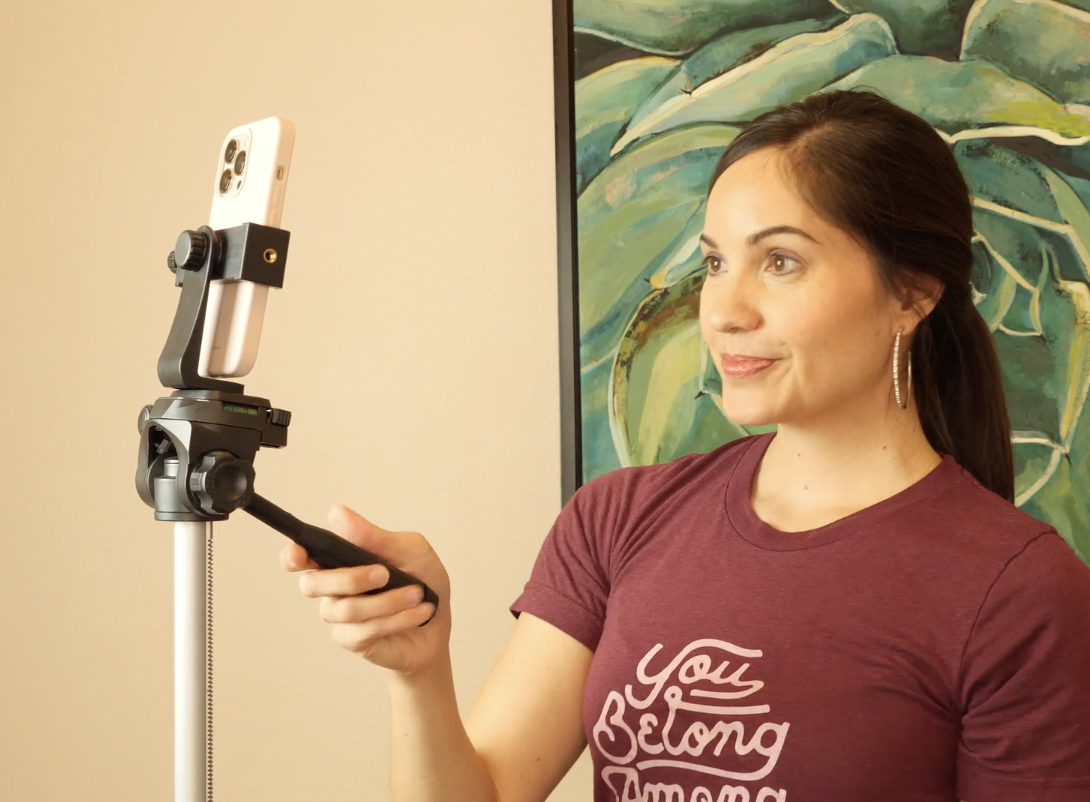
Yep! Make sure to stabilize your phone. The easiest way is to mount your phone on a tripod with a phone adapter on it. I love the Amazon Basics tripod. It's budget friendly but it also gets super tall so you can stand. I'm almost 5'8" and it's tall enough to even get above my head if I wanted it to. So if you're even six foot tall, it probably will work for you, too!
My go-to Phone Adapter is the one by Vastar. You just screw it onto your tripod and then easily place your phone in it. The adapter also rotates so that you can film vertically or horizontally.
Here's a little tip: it's actually more flattering if you have your camera slightly above you and angled down.
Step 3: Lighting
This right here is the key to looking better in your reels than in real life. It's actually super simple to do! Just remember this hot tip:
The bigger the light, the better you look.
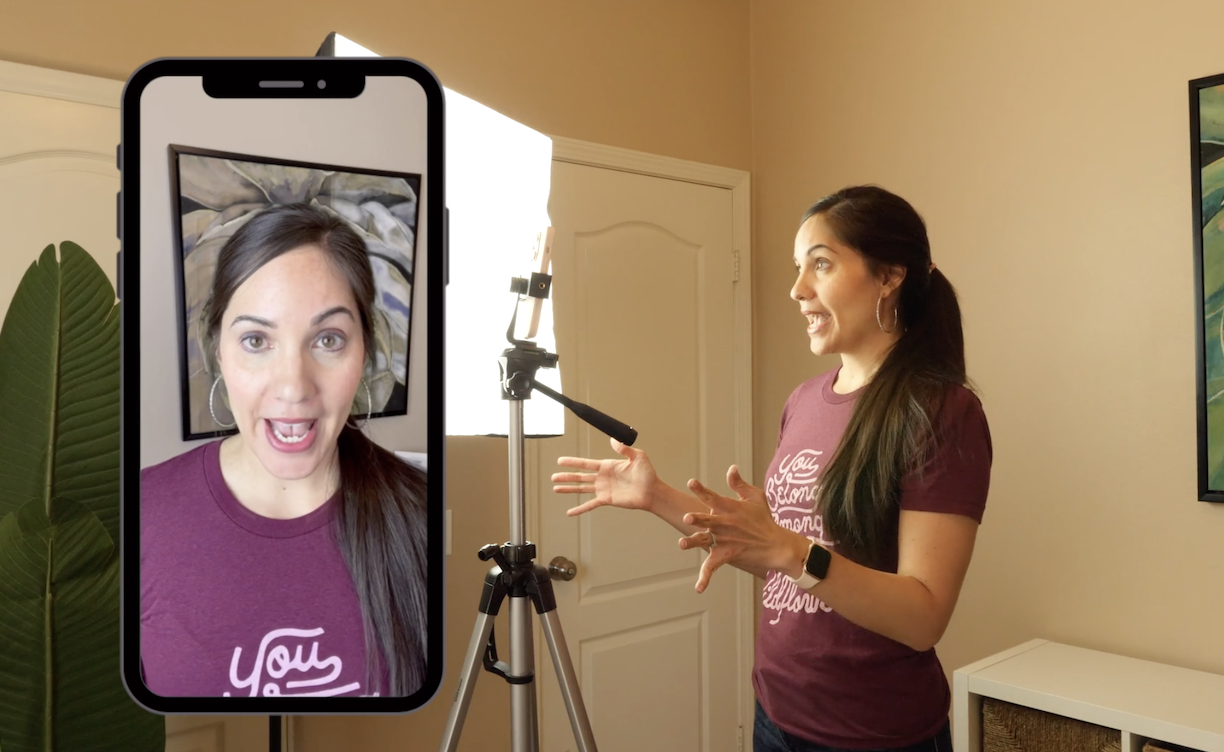
If you'd like a recommendation, this is my favorite soft box and this is my favorite ring light. The best place to put your soft box light is right next to your phone. So basically if your phone is right in front of you (at 12:00) then you want your soft box at either 11 o'clock or 1 o'clock.
But...if you wear glasses, make sure and watch my video how to avoid glare on glasses in video. I give you some awesome tips in there.
When you have your soft box angled at this position it just looks so flattering on your face and lights you really well.
Okay, so if you don't have a light or if you just want to simplify things, then my favorite little hot tip here is to simply stand in front of a window. And the same rule applies, the bigger the light the better you look. Well, the bigger the window, the better you look.
I love standing in front of my french doors because the windows are huge! Which means the light is super flattering on my face. This is my go-to spot for reels right now because all I have to do is simply put my phone on the tripod and I'm good to go!
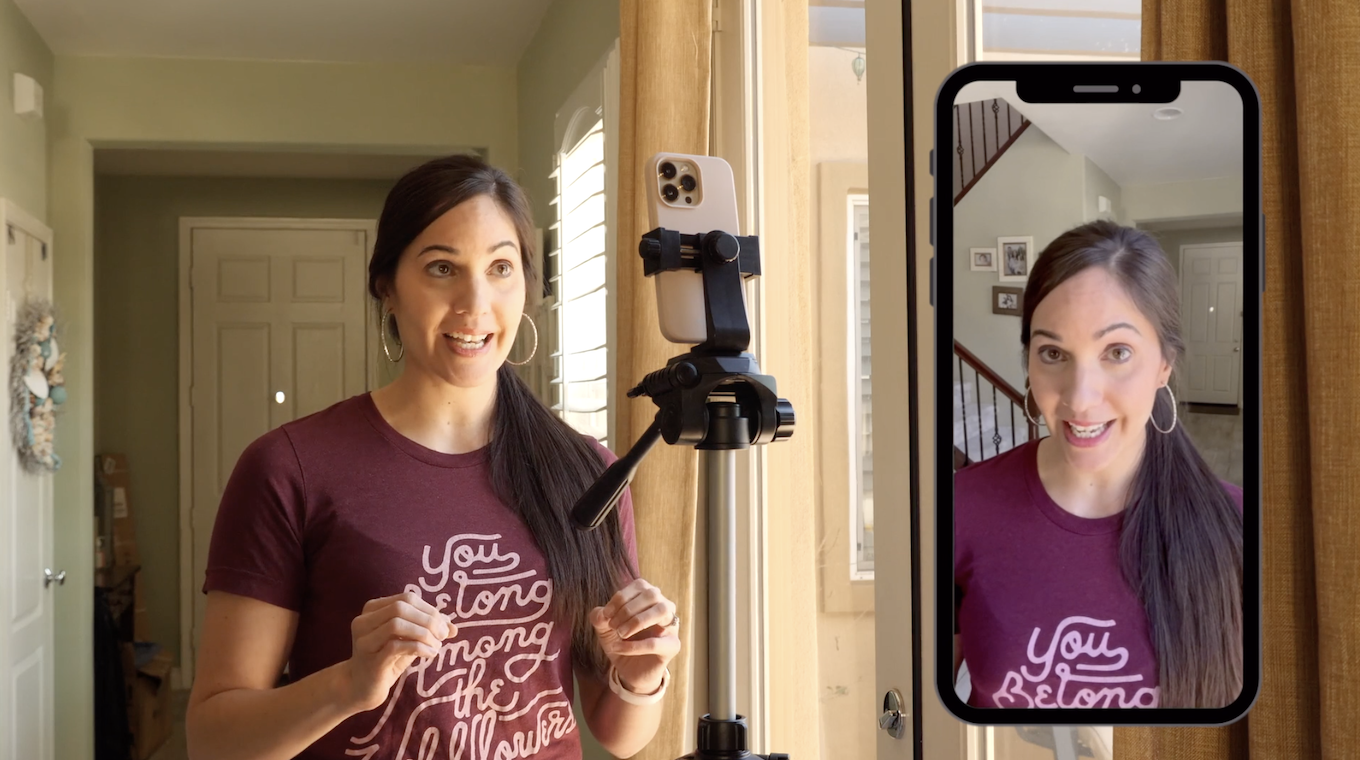
If you stand in front of you window, just remember to be in indirect sunlight. So don't have the actual sun rays shining on you. That's not flattering. So make sure you're in indirect sunlight!
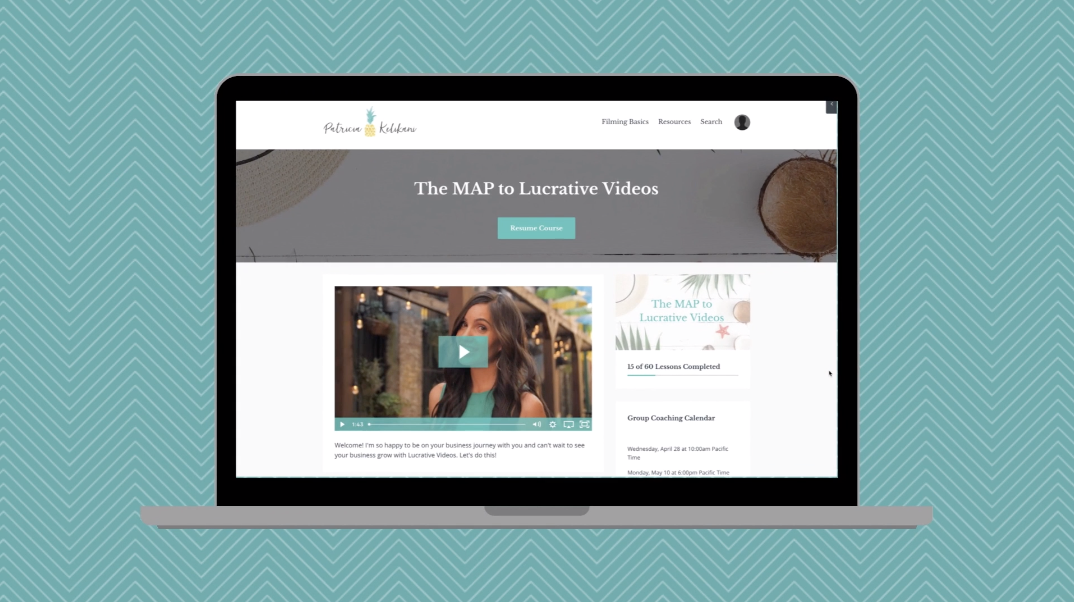
As a side note, in my online course called The MAP to Lucrative Videos, I walk you through all of these steps in so much more detail but hopefully this is enough to get you started.
Step 4 : Microphone
Of course, you only need to use a microphone if you're going to be talking in your reels but this way your voice will sound nice and full rather than that hollow, echoey sound without a microphone.
Hot tip: If your phone is more than an arm's length away from you, I definitely recommend using a microphone.
My go-to budget-friendly microphone is the Movo LV1. I absolutely love this microphone. If you've watched my other videos you've heard me talk about it before.
If you have an iPhone 8 to iPhone 14, you'll need this adapter to plug in the microphone.
If you have an iPhone 15 or an Android without an audio jack, you'll need this adapter to plug the microphone into your phone.
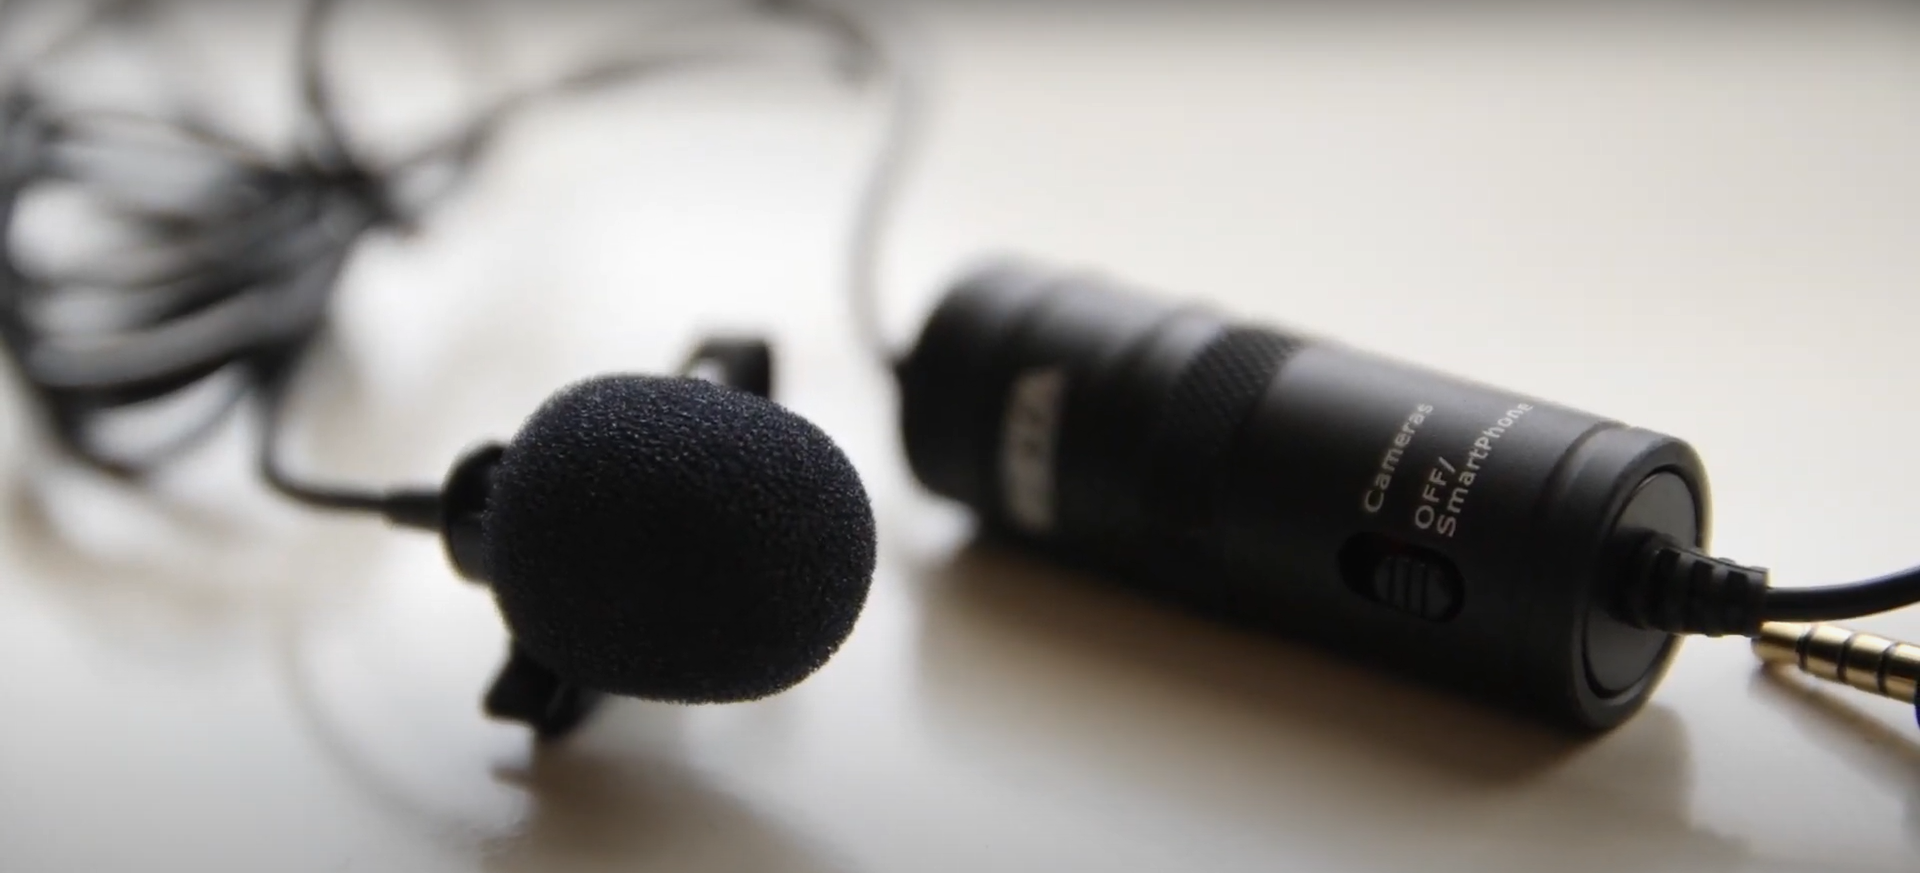
Want a tip on where to place your lavalier microphone? Watch this Reel!
Step 5: Push Record!
And the last step is to push record! (And don't forget to push record. Yesterday, I did. Yeah, it's not fun especially if it's a long video like it was yesterday... lol)
And make sure and look at the lens. I know on phones the lens is like super tiny. In fact, when you're in selfie mode you can't even see the lens. So just look in that general area because:
The lens is like your viewers' eyes.
So make sure you're talking with them and looking at them straight in their beautiful eyes!
There you go an easy Instagram Reels video setup so you look better on reels than in real life.
Okay so here's the thing. You know that video is a game changer in your business but the most common question I get is, "What video should I make for my business?"
Well, you're in luck. I created a personalized quiz that will tell you what video you should make next in your business to get immediate results. And it's all personalized based on the answers you give in the quiz so make sure to take the quiz to find out!
And don't forget if you want to level up your business with video you need to get my online course called The MAP to Lucrative Videos.
It isn't just any old, regular online course. This includes monthly group coaching, script templates that are mad lib style where you fill in the blanks, and it's all strategic content so that you grow your business with video.
In fact, so many of my students have created their first online courses. Because of this course, The MAP to Lucrative Videos , they've been on the national news, they've tripled their customers, they've made thousands of dollars more in the first month after just adding one or two videos to their websites. It's amazing. I cannot wait to see you there!
